
Quick and Simple Photoshop Background Splitting Guide
Prepare:
– Download and install
– A photo needs background separation.
– For photos with hair, to separate all parts of hair refer to the article
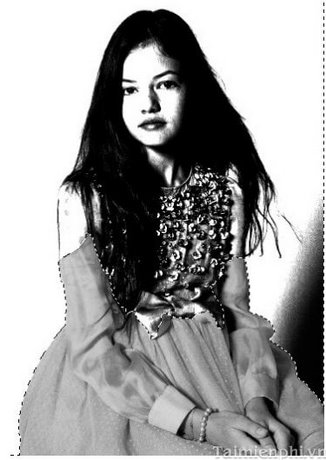
Step 1: Open the photo you need to detach the background in Photoshop.

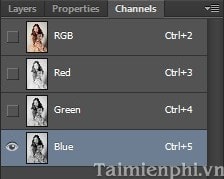
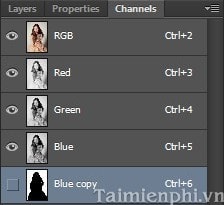
Step 2: Open the color channels (go to Window/Channels) and select the color channel at the highest contrast.

Here I select the Blue channel.

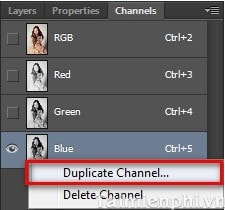
Step 3: Right click on the blue channel and select Duplicate Channel… to duplicate the color channel.
Step 4: Next, we need to increase the contrast to make it easier. Use the Quick Selection Tool (W) to select areas that need to increase contrast.
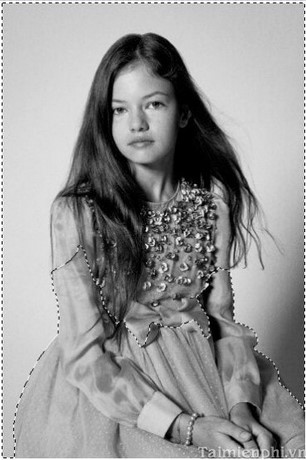
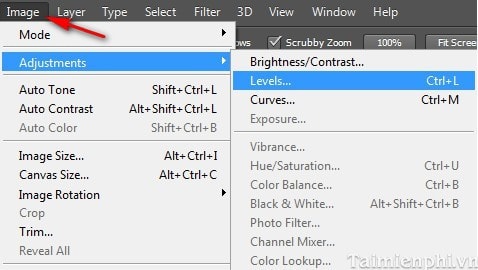
Then, go to Image/Adjustments/Level… to open the Level dialog box and set it as shown in the image.
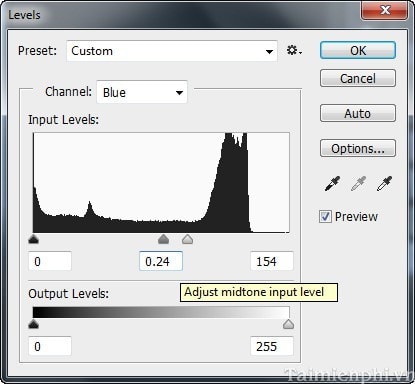
We get the following:
Step 5: Use the Brush tool (B) to whiten the background area (1) and black the object part ( 2).
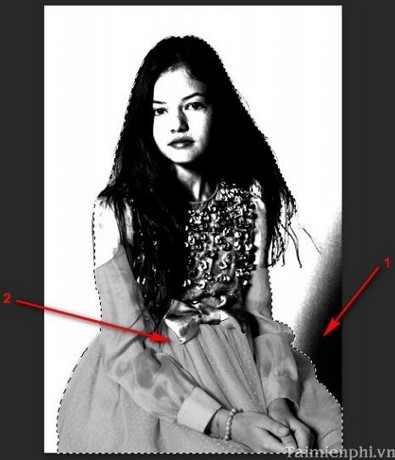
After the bowl is finished, we get like this:
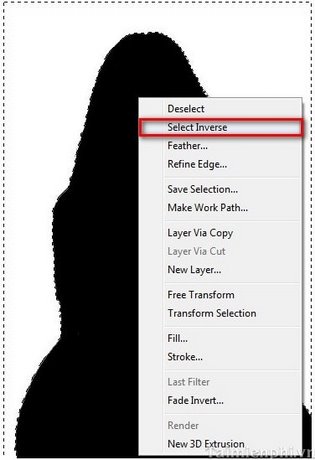
Step 6: Next, hold down the Ctrl button and click on the Blue copy layer, the software will automatically select the white area. To change the selection to a black area (object), right-click the picture and select Select Inverse.
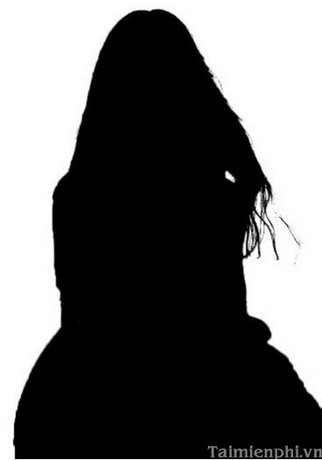
Step 7: Finally, turn off the Blue copy layer and open the RBG layer .
We get the following:

Step 8: Double-click on Background to convert it to layer 0. Then press Ctrl+J to duplicate the layer. Finally, turn off layer 0 and you will see that the image has been detached from the background.
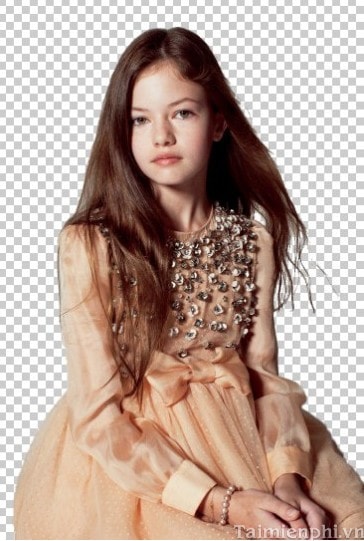
You can also insert another Background to make your photo more vivid.

https://thuthuat.taimienphi.vn/tach-nen-trong-photoshop-2081n.aspx
In the limited article, we have shown you how to split the background in Photoshop. This way you can separate any object or object from the background image to create unique and fancy photos. Also, you can refer to